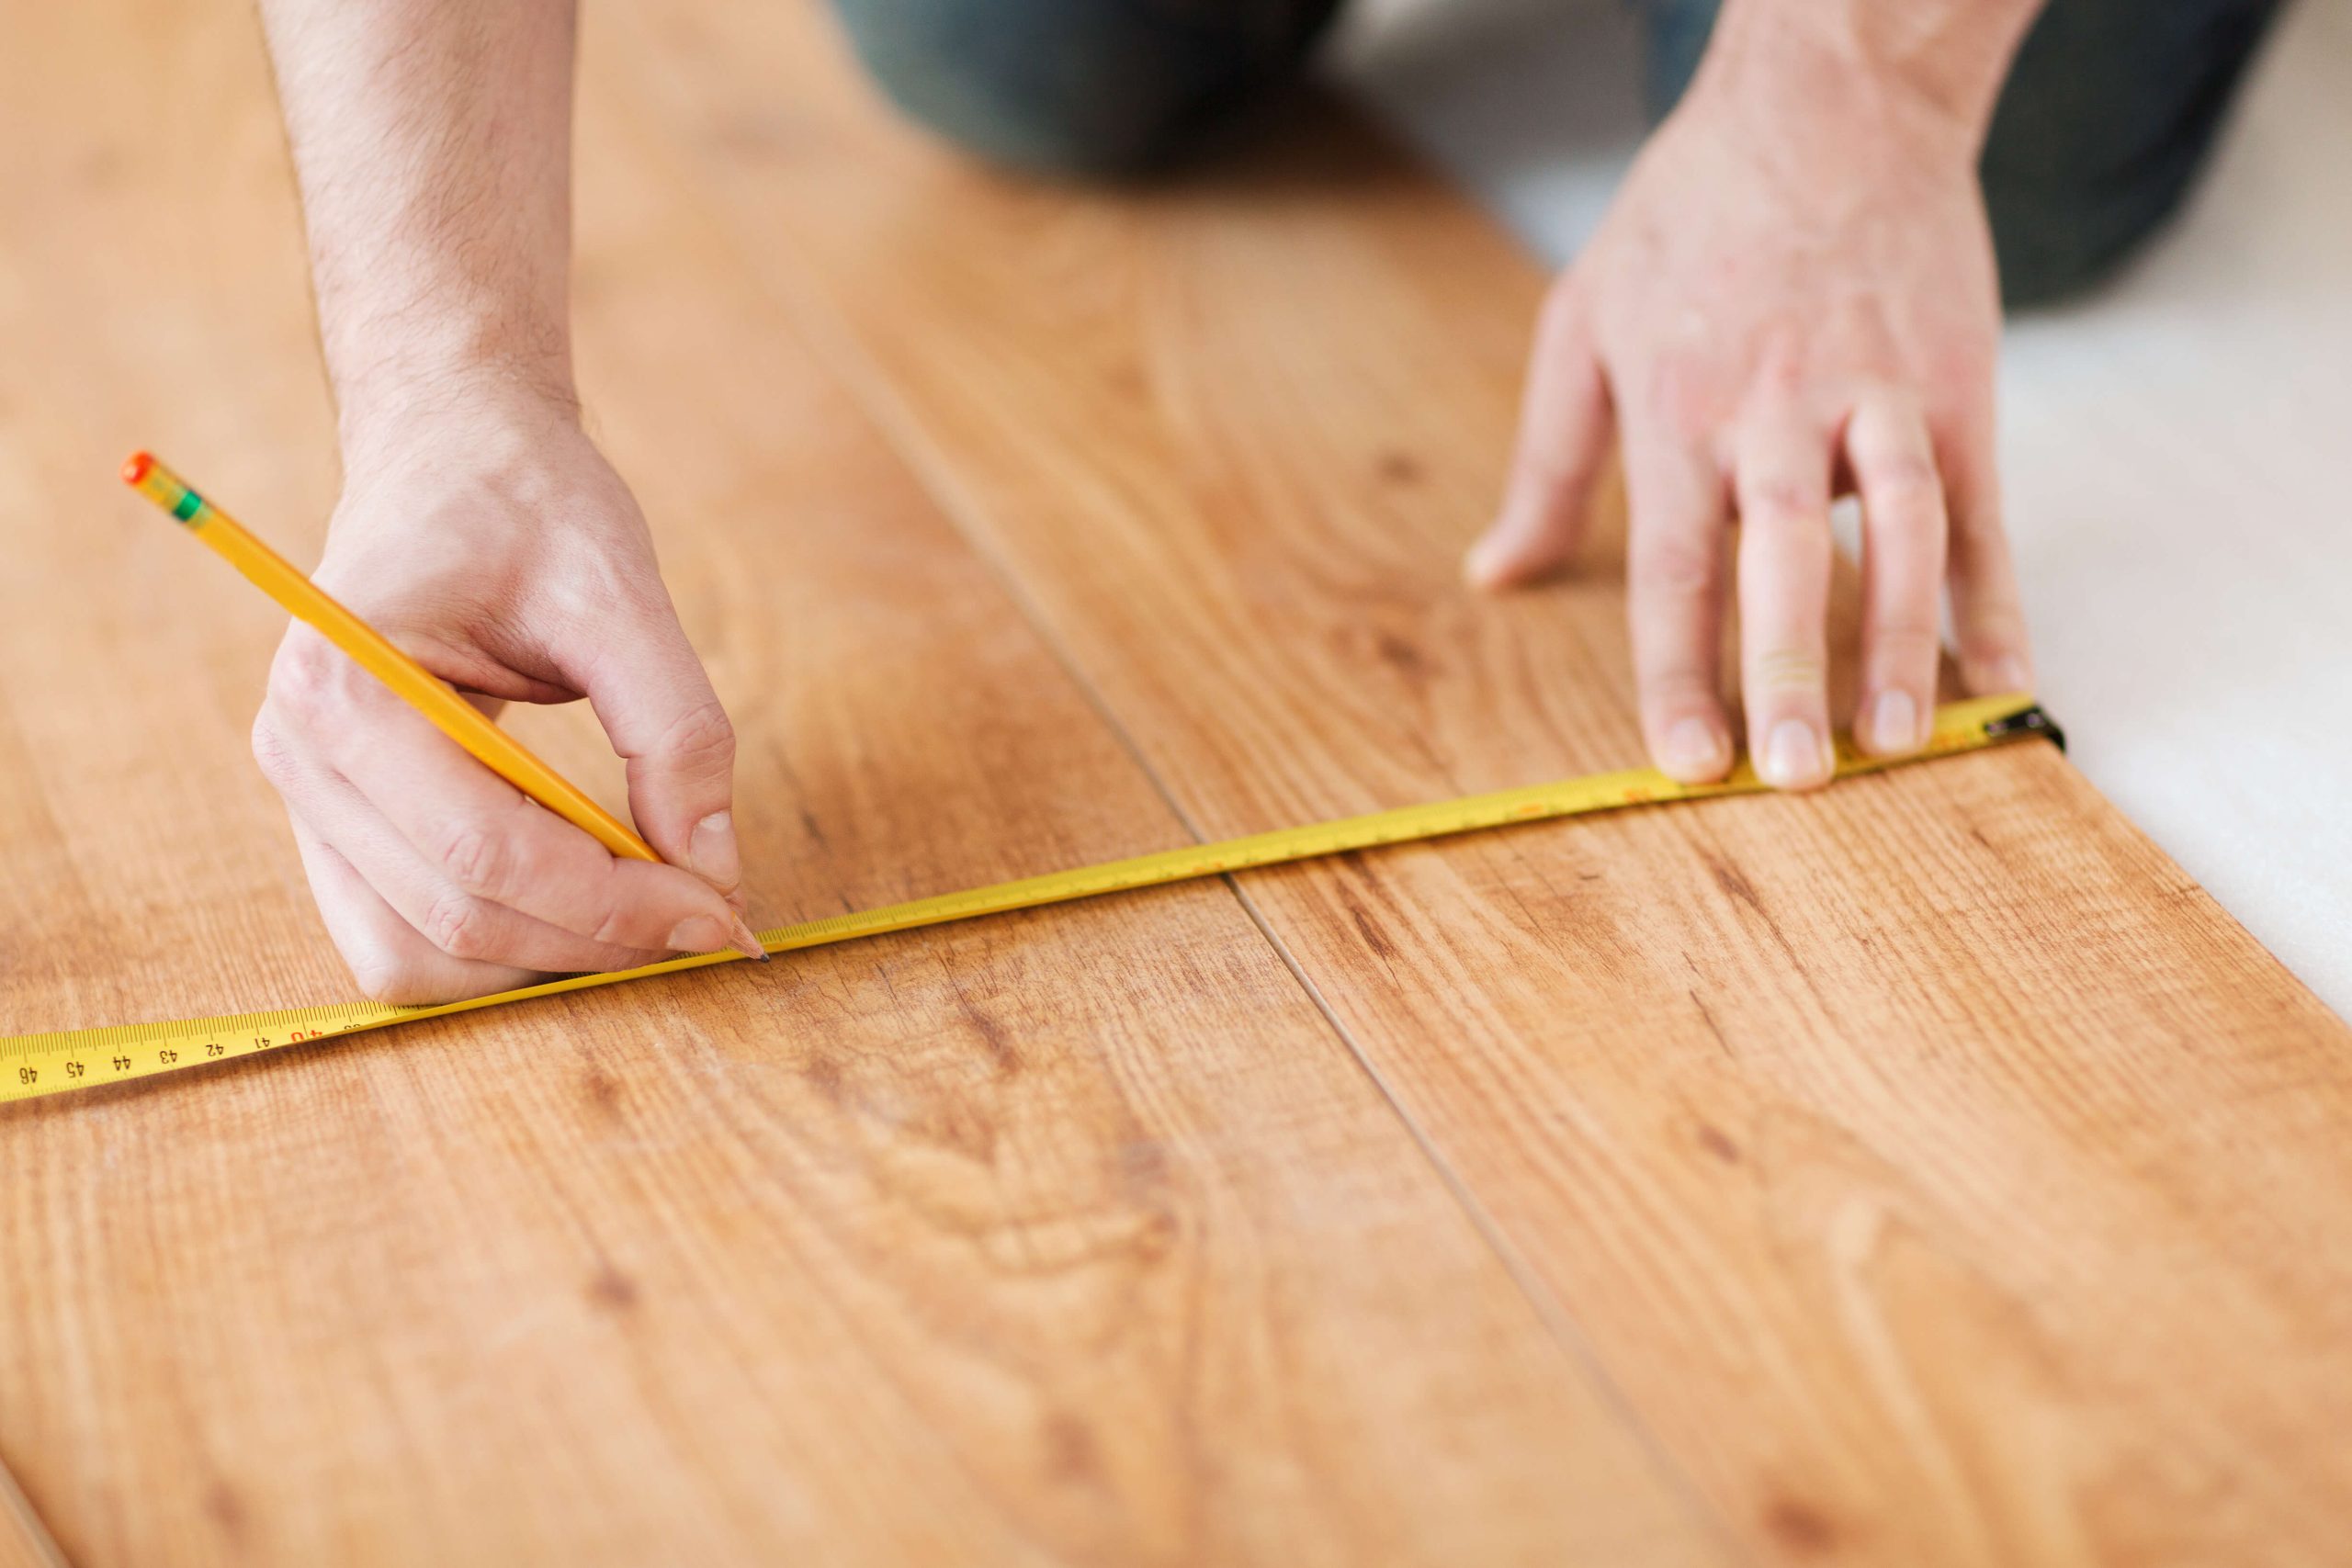
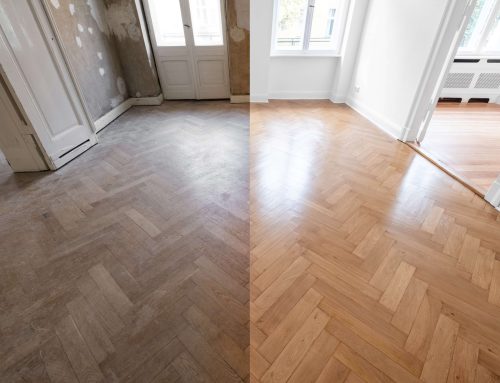
When it comes to breathing new life into your wooden floors, Restore Floor Sanders can make all the difference in achieving a flawless finish. Whether you’re tackling a DIY project or hiring professionals, selecting the right tools is essential for a smooth and even restoration.
In this guide, we’ll discuss everything you need to know about choosing the perfect tools for your wood restoration project, helping you bring your floors back to their original beauty.
Restore Floor Sanders: Why the Right Tools Matter
Wood restoration isn’t just about aesthetics; it’s about preserving the longevity of your floors. Using Restore Floor Sanders and other high-quality tools ensures that you can remove imperfections such as scratches, dents, and unevenness without causing further damage. Tools designed specifically for floor restoration provide better precision and control, which is vital when dealing with older or more delicate wooden surfaces.
Expert wood floor restoration Leeds ensures that your floors get the care they need, preserving their beauty for years to come. Let’s explore the essential tools you’ll need for your project and why they matter.
Understanding Different Types of Sanders for Floor Restoration
When choosing the right tools, it’s important to understand the different types of sanders available. Here are some of the most common types you’ll encounter when using Restore Floor Sanders:
-
Belt Sanders
Belt sanders are powerful tools used for the initial stages of wood floor restoration. They are ideal for removing the top layer of finish and sanding down imperfections, especially in larger rooms. They work quickly and provide a uniform finish, making them a go-to tool for professional restorers.
-
Orbital Sanders
Orbital sanders are used for the finer stages of sanding. They provide a gentler approach compared to belt sanders, making them ideal for smoothing out surfaces without damaging the wood. These sanders are great for finishing touches in tight corners or areas requiring precision.
-
Edging Sanders
When working on the edges and corners of the room, a good edging sander is essential. These smaller, more precise tools are designed to handle areas that larger sanders cannot reach, ensuring your entire floor gets the attention it needs during the restoration process.
Key Considerations When Choosing Restore Floor Sanders Tools
Choosing the right tools for your wood restoration project isn’t just about selecting the type of sander, there are several factors to consider. Floor Sanding Leeds offers a range of professional services that help ensure your project is done right, from start to finish.
-
Power and Performance
The power of the tool is crucial, particularly when working with tougher hardwood floors. High-powered Restore Floor Sanders can speed up the process and provide a deeper level of sanding, especially useful for floors with significant wear and tear.
-
Dust Collection
Floor sanding creates a lot of dust, so it’s important to choose a sander with an efficient dust collection system. This feature not only helps keep your workspace clean but also improves the overall health and safety of your environment.
-
Durability
Durable tools are a must for any restoration project. Look for Restore Floor Sanders made from high-quality materials that can withstand extended use, particularly if you plan to restore multiple rooms or take on additional projects.
How to Use Restore Floor Sanders for Best Results
Once you’ve selected your tools, it’s important to know how to use them correctly. Follow these steps to ensure a successful wood restoration project:
Step 1: Preparation
Before using your Restore Floor Sanders, ensure the room is cleared of all furniture and that any nails, staples, or debris are removed from the floor.
Step 2: Initial Sanding
Start with a belt sander for the initial sanding phase. Work in straight lines, moving the sander along the grain of the wood to avoid scratches or marks. Gradually move through different grits, starting with a coarse grit and progressing to finer grits for a smooth finish.
Step 3: Edging and Finishing
After sanding the main area, switch to an edging sander to tackle the corners and edges. Follow up with an orbital sander to smooth out any remaining imperfections.
Step 4: Varnishing and Finishing
Once the sanding is complete, apply a protective finish. Choose a varnish that suits the type of wood and the aesthetic you desire. This will protect your newly restored floors and enhance their natural beauty.
Conclusion
Restore Floor Sanders offer the perfect solution to tackle any wood floor restoration project, big or small. From belt sanders to edgers, having the right tools is key to achieving a flawless, long-lasting finish. So, before you start your next restoration, ensure you’re equipped with the best tools for the job.
Floor Sanding Leeds services provide expert assistance for your flooring needs. For more details on how we can help, Contact Us today!


